How to Install Upper Kitchen Wall Cabinets
 Installing kitchen cabinets requires a helper and a few tools, but it can be a relatively simple task. If possible, install the upper wall cabinets before the base cabinets to allow yourself ample room to work. Wear safety goggles and clear the area, and in a few hours, you and your partner will have given your kitchen a whole new look.
Things You'll Need
- Helper
- Stepladder
- Safety goggles
- Quick-action clamps
- Wood glue
- Pencil
- Carpenter's level
- Tape measure
- Hammer
- Screwdriver
- Backsaw
- Stud finder
- Cordless drill
- Countersink bit
- Stock cabinets
- 1x3 boards
- Shims
- Small wood scraps
- Common nails (2-inch)
- Finishing nails (1 1/2-inch)
- Wood screws (2 1/2-inch, No. 8)
- Damp cloth
Prepare the Work Area
Unscrew the cabinet door hinges from the frames and set aside.
Locate the studs. If you're replacing old cabinets, locate the holes where the old cabinets were. On a new wall, use a stud finder. Locate and mark the center of the studs below where the cabinets will be, along the full run of cabinets. "Kitchen Renovations" says the bottom of the upper cabinet should be at least 15 inches above the countertop, which is usually 28 to 36 inches high. Start about 40 inches from the floor.
Locate and mark the studs in the upper part of the wall, as before. You should now have marks above and below where the cabinets will be.
Using a carpenter's level and pencil, draw a line down the center of each stud, from the marks you've made at the top to the marks you've made at the bottom. Then draw horizontal lines across top and bottom.
Installation
Nail 1x3 cleats directly beneath the bottom line. Don't drive the nails all the way in, so that you can easily move the boards.
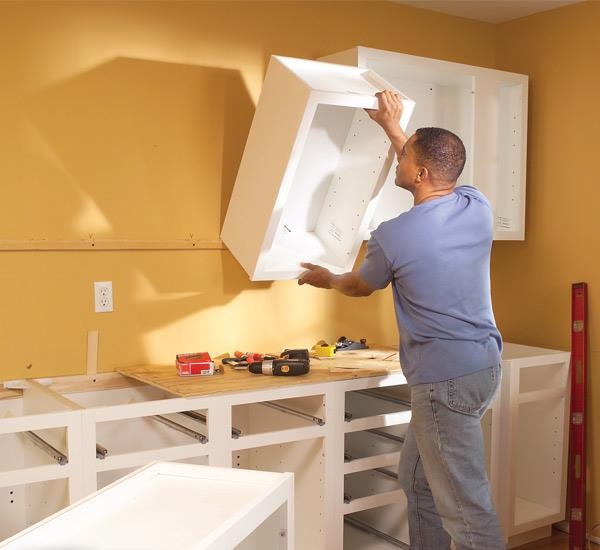
Beginning in a corner, have your partner help you lift the corner cabinet into place and rest it on the cleat. Check to see if the cabinet is level and plumb (exactly vertical, level from front to back). If not, have your helper hold the cabinet and watch the level while you tap one shim at a time between the cabinet and the wall, wherever needed. If the cabinets will be isolated on one wall (none in a corner), begin at the left-most edge.
Reach inside the cabinet and drill four countersunk holes at the studs: top and bottom of support rails, near left and right sides of cabinet. Drill through the layers (cabinet, shims, wall) into the stud. Drive a screw into each hole.
Lift the second cabinet onto the cleat, making sure it is snug against the first. Level, plumb, drill and fasten to the wall as you did with the first cabinet.
Attach the cabinets to each other with lever-action clamps, using wood scraps to protect surfaces. Clamp it so that the fronts are flush and gaps are closed. Drill two pilot holes with the countersink bit, near the top and bottom of the stile of the second cabinet, into the stile of the first. Drive a screw into each. Continue mounting and attaching cabinets until you're finished.
Hold the backsaw at a 45-degree angle and carefully saw off the parts of the shims that are protruding from the tops and bottoms of the cabinets. Get as close as possible without marring the cabinets. Using a miter saw, cut lengths of quarter-round molding to fit and nail it into place to conceal the shims.
Reattach the cabinet doors with a manual screwdriver, clean up the area and wipe down the cabinets.


Comments
Post a Comment