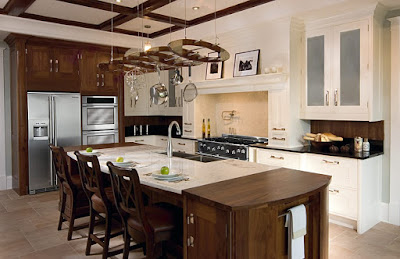
Tile a Wood Top Kitchen Island
Prepare the surface of the kitchen island. First, there should be as little "bounce" or "give" to the surface as possible. Extra support may need to be installed underneath. Check that there are no screws or nails that rise above the surface of the wood top and that the top is as flat as it can be. If necessary, use a power sander to even out the surface.
Prime the wood using an oil-based primer. This will seal the wood and protect it from the moisture in the mortar or grout. If the wood surface was finished with paint or polyurethane, first sand the surface to remove as much of the old finish as possible before applying the primer.
Prepare the edges of the island. Use 3/4-inch quarter round molding or another similar edge molding that will give a decorative edge, but still be gentle on arms and hips that will bump into it. The molding can be attached so that the front edge is flush with the edge of the island. Some more decorative moldings, such as a "Chicago Bar Rail" style, will need to be offset out from the edge. Once the edge is prepared the recessed area in the center of the island will be filled with cement backer board and tile. Be sure that the height of the edge closely matches the finished thickness of the tile. The backer board, mortar, and tile will combine to be between 3/4 and 1 1/2 inches thick depending on the thickness of the tile. Cover the part of the wood that will be visible when finished with blue painter's tape to protect the wood from damage and accidental mortar splashes.
Install the cement backer board using thin-set mortar. First cut the backer board to loosely fit the kitchen island top. The board does not need to come up against the edge of the wood. Use a jig saw with a carbide blade to cut the board because a normal saw blade will quickly become dull. If more than one piece of backer board is needed, the seam between them will need to be taped with vinyl mesh tape. Apply the mortar to the primed wood using a 1/4-inch notched trowel. Then place the backer board on top and press it firmly into place.
With the surface of the kitchen island now prepared with cement backer board, the rest of the tile work becomes routine. Lay out the tile design that is planned and cut or shape pieces to fit using a tile saw or tile clippers. Foam plastic spacers can be used to maintain an even gap for grout or a hand-made effect can be achieved by using a mosaic pattern and irregular spacing. Apply the tile using the same kind of mortar as would be used in a shower or tub.


Comments
Post a Comment